How to Group Worksheets in Excel – 3 Easy Methods
Why Group Worksheets in Excel?
Before we explain how to group worksheets in Excel, let’s talk about why it’s useful. If your workbook has many sheets, managing them one by one can be difficult. For example, if you need to enter the same data or apply the same formatting to several sheets, doing it on each sheet separately can take a lot of time. This is where grouping worksheets helps, letting you work on multiple sheets at once.
How to Group Worksheets in Excel?
Here’s a simple guide for grouping worksheets in Excel:
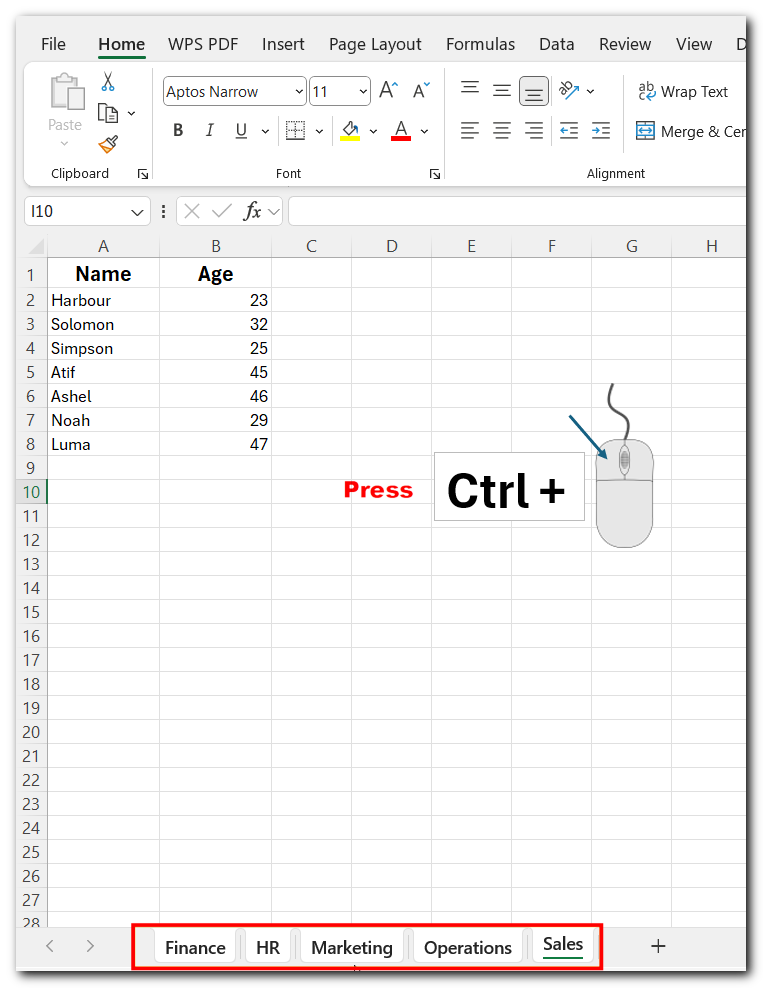
Method 1 - Group Worksheets in Excel with "Ctrl" Key
- Click on the first sheet you want to group.
- Hold the Ctrl key.
- Click on any other sheet tabs you want to add to the group.
Method 2 - Group Worksheets in Excel with the "Shift" Key
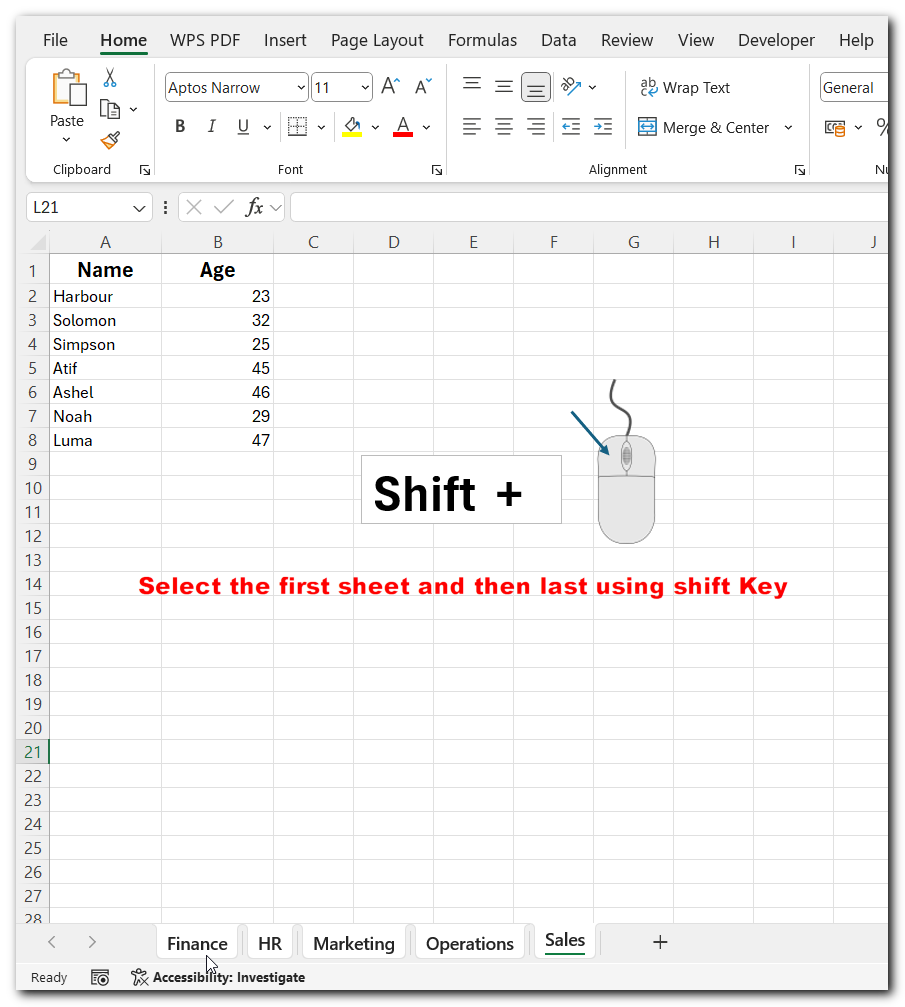
To group consecutive sheets in Excel, using the Shift key is a better option:
- Hold the Shift key and click on another sheet. All the sheets between the first one and the one you clicked will be grouped automatically.
- Here’s a simplified version:
- Select the first sheet.
- Hold the Shift key.
- Click the last sheet you want in the group.
- All the sheets in between will be grouped!
Method 3:- Group Worksheets in Excel Using the Right-Click Menu
- Right-click on the sheet tab of the first sheet you want to group.
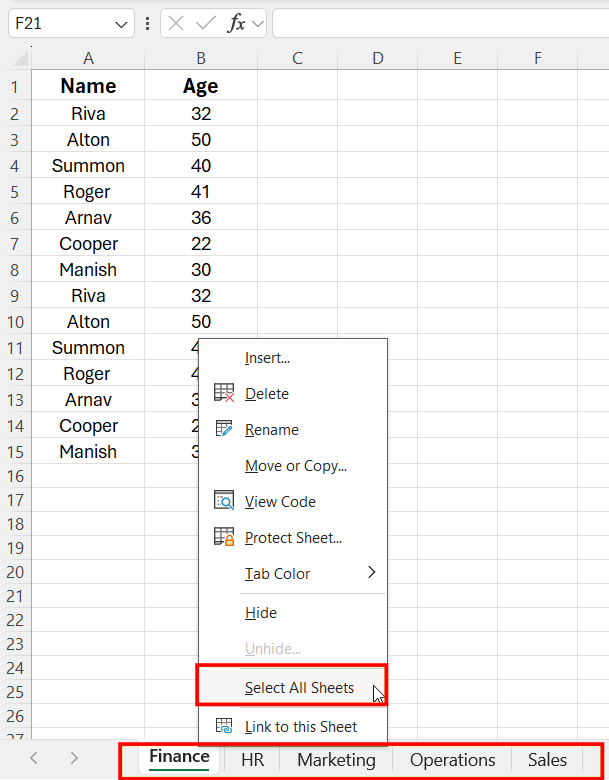
- From the menu, click Select All Sheets to group all sheets, or
- Hold the Ctrl key and click the sheet tabs you want to group, then right-click one of the selected sheets and choose Group Sheets.
Grouped sheets will allow you to make changes across multiple sheets at once.
How to Determine if Sheets are Grouped
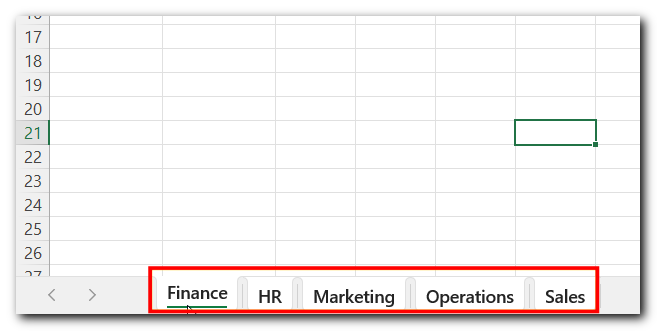
- To check if sheets are grouped in Excel, look for these signs: The sheet tabs will be highlighted (usually in white).
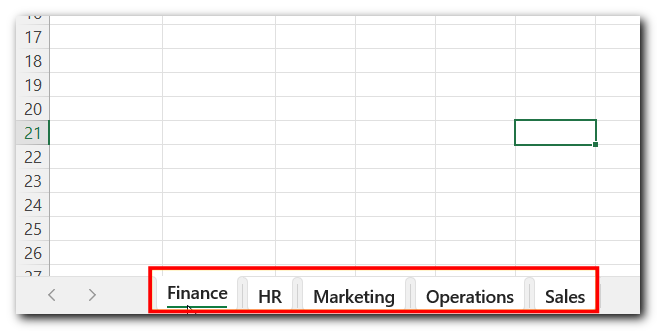
- The file name will show [Group] at the top next to the name of the workbook.

This means changes made will apply to all grouped sheets.
Conclusion
Group Worksheets in Excel lets you perform the same tasks on multiple sheets at once, saving time when you need to make the same changes in each sheet.
Hope you have learnt now “How to Group Worksheets in Excel”. Follow us for more updates.
FAQs About Grouping Worksheets in Excel
Here are some common questions about grouping worksheets in Excel:
Can I Group Non-Consecutive Worksheets?
Yes! Hold the Ctrl key and click the sheet tabs you want to group. For consecutive sheets, hold Shift and click the first and last tabs in the range.How Many Worksheets Can I Group?
You can group up to 1,024 worksheets at once. Trying to group more will show an error message.Can I Edit Worksheets Without Ungrouping?
While grouped, only the active sheet can be edited. To edit others, ungroup, make changes, then group again.Can I Group Excel Tables and PivotTables?
Yes! You can group worksheets with Tables and PivotTables just like regular sheets. The grouping applies to all the data.How Do I Know if Worksheets Are Grouped?
You’ll see [Group] next to the sheet name, and the grouped tabs will be highlighted in a different color.


