

- Ensure that you have already unzipped the tool (both components Database and Interface) and saved it on your system
- Open the tool in MS Access 2007 or above version
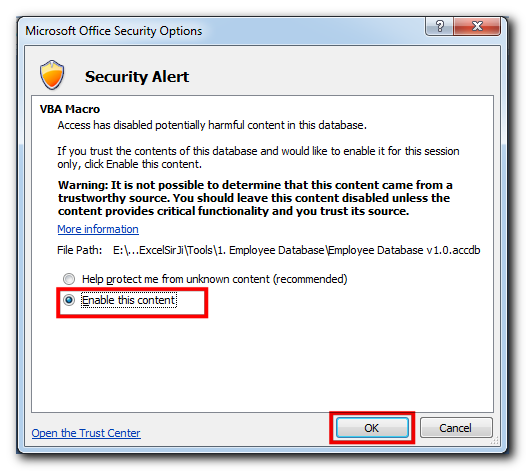
- You may see a warning message on top because the file contains VBA Codes, click on Options
Screenshot if tool is opened in Office 2007: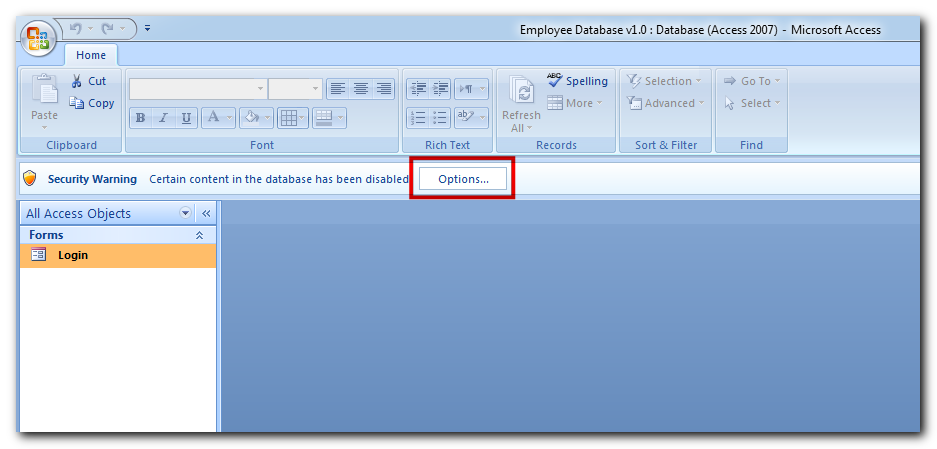
Screenshot if tool is opened in Office 2010 or above: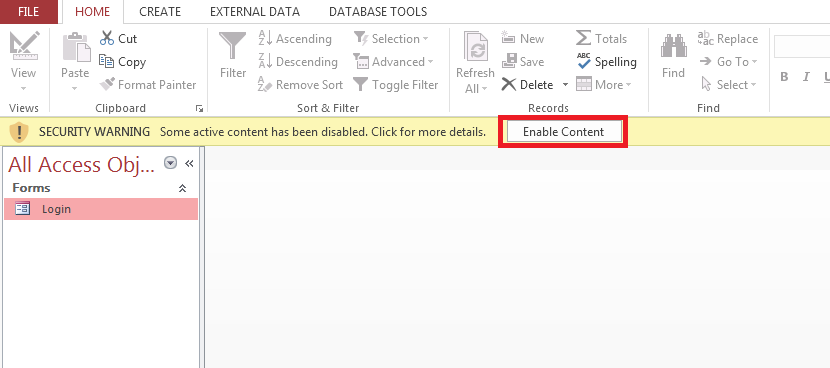
- Click on ‘Enable this content’ and Ok button (applicable only when tool is opened in Office 2007)
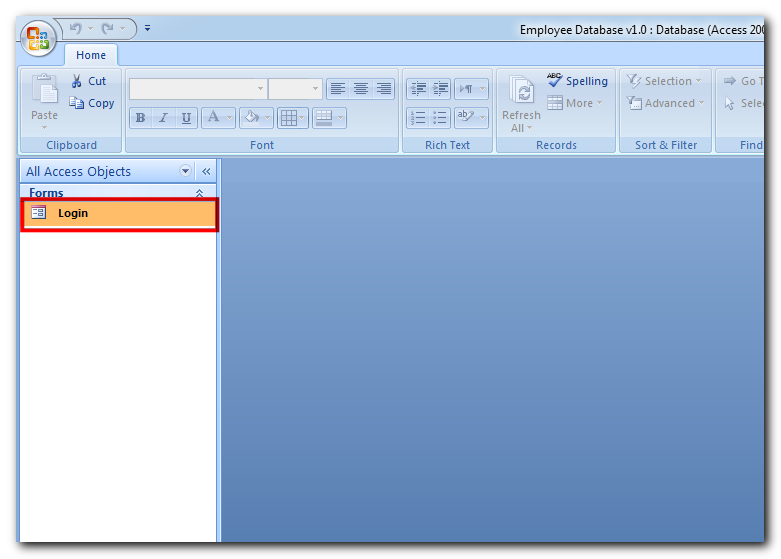
- Double click on ‘Login’ form
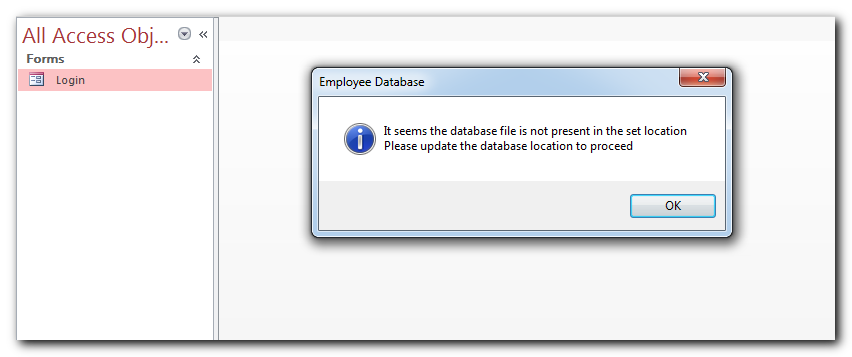
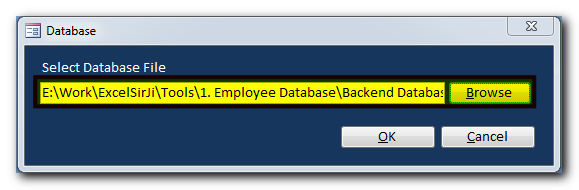
- On first time login, you may be prompted to browse the backend database file
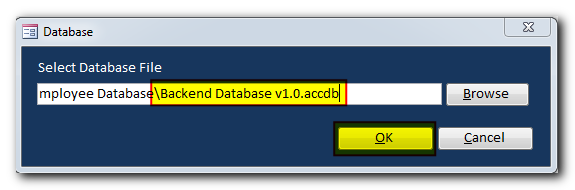
- Browse the database file and click on ok
- Now you can double click on ‘Login’ form
- Enter your employee ID and password in the fields provided and click on ‘Login’ button
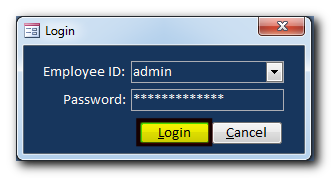
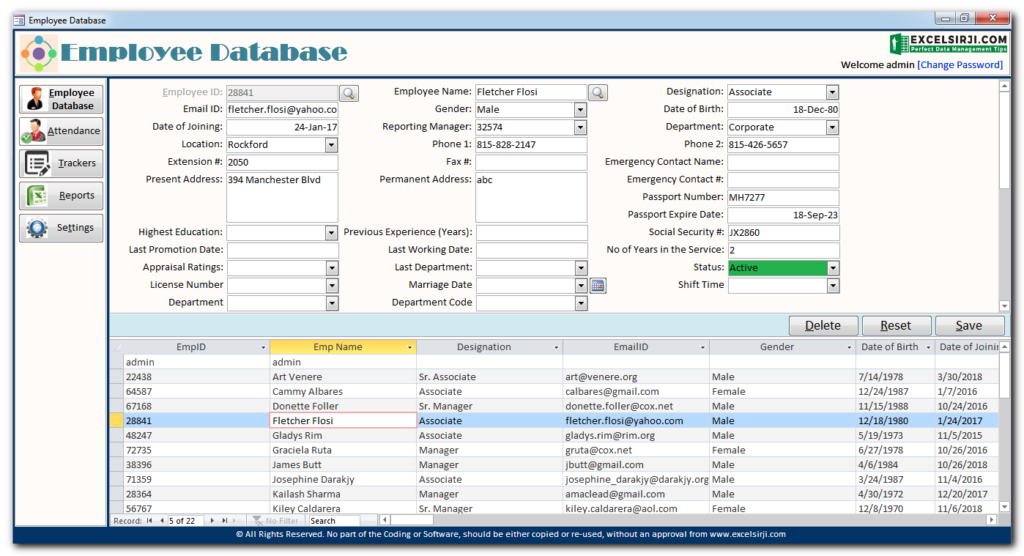
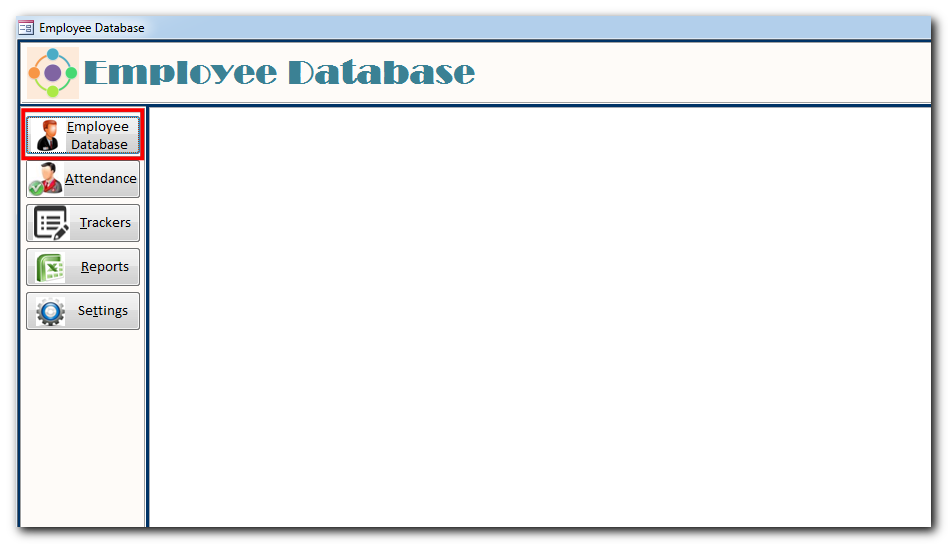
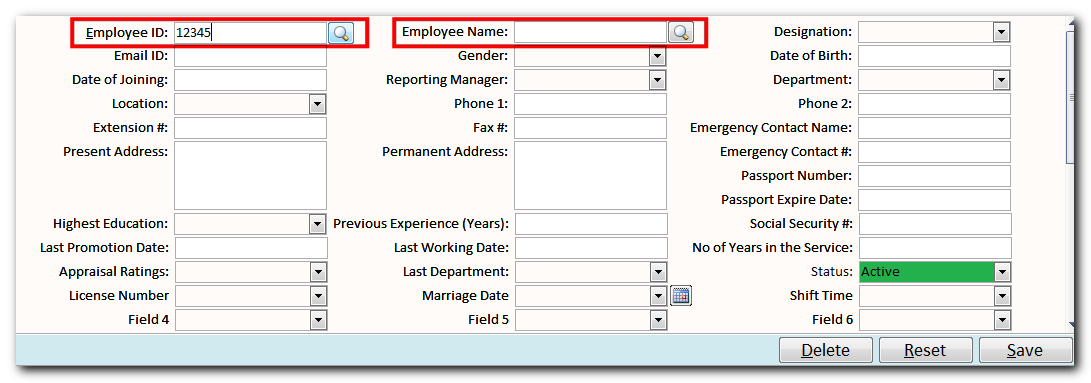
Note: If you are the very first user of the tool then use admin as employee id and admin as password - To track employee details, click on ‘Employee Database’ button
- To add new employee detail, click on ‘Reset’ button
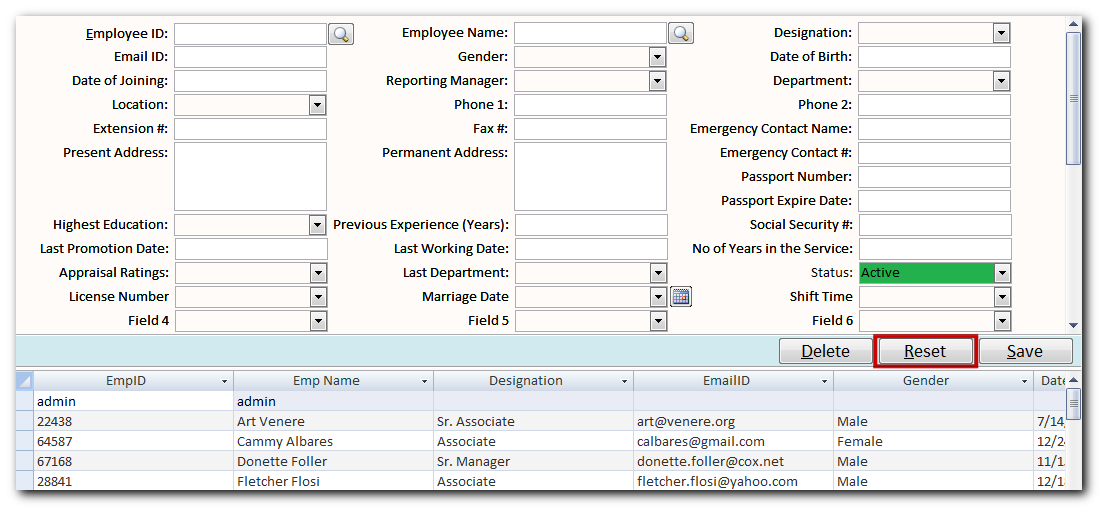
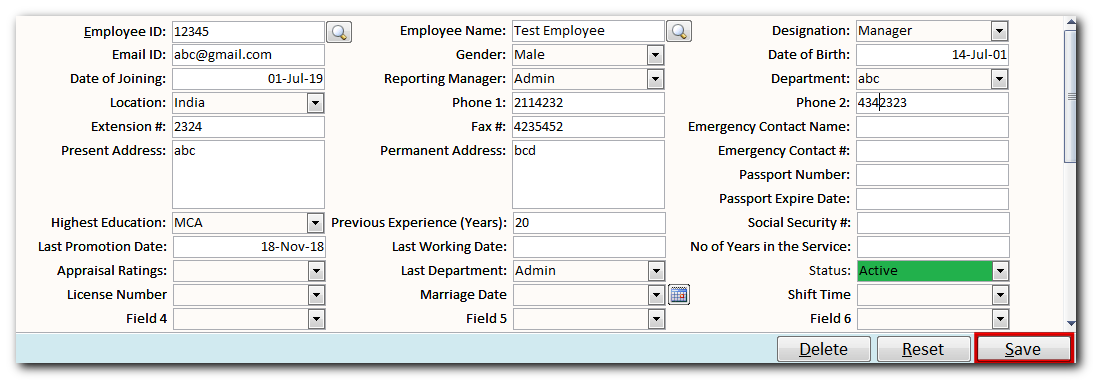
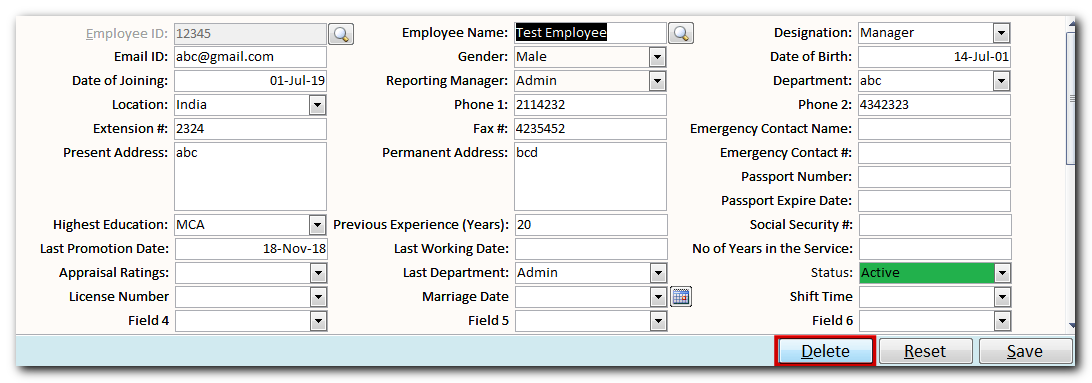
- Enter the details of employee and click on ‘Save’ button
- To update existing employee details, click on ‘Reset’ button and search the employee from Employee ID or Name
- Update the details and click on ‘Save’ button
- To delete the employee records from the tool, click on ‘Reset’ button and search the employee from Employee ID or Name
- Click on ‘Delete’
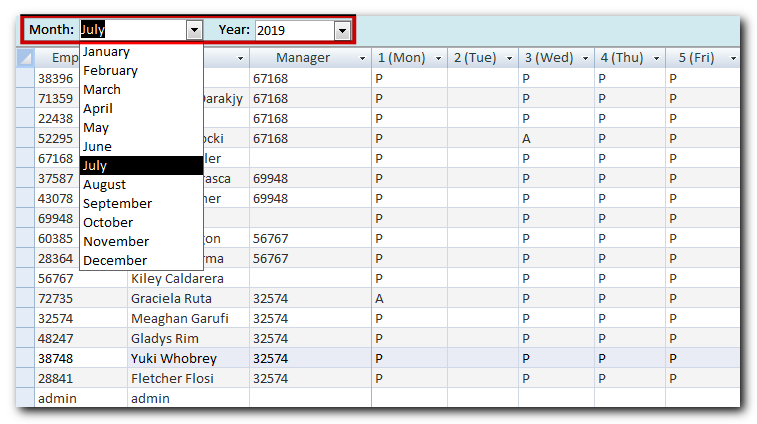
- To track the attendance details, click on ‘Attendance’ button

- Select the Month and Year from the dropdown
- Track the attendance of the employees from the dropdown
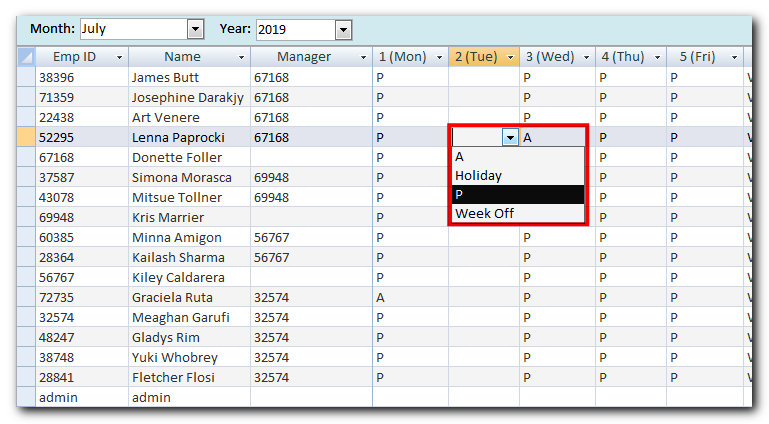
Note: If you want to manage the dropdown of attendance type, go to Settings > Attendance setting - To update custom trackers, click on ‘Trackers’
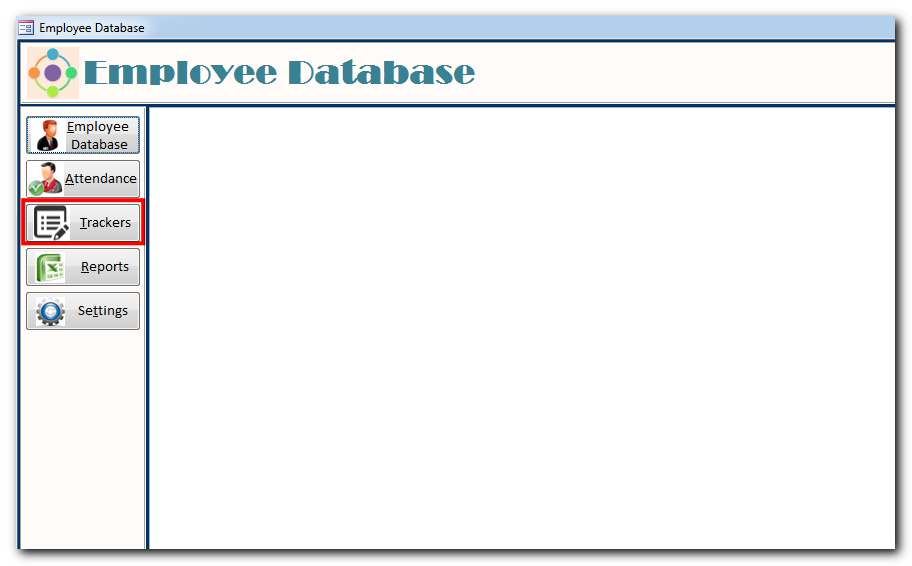
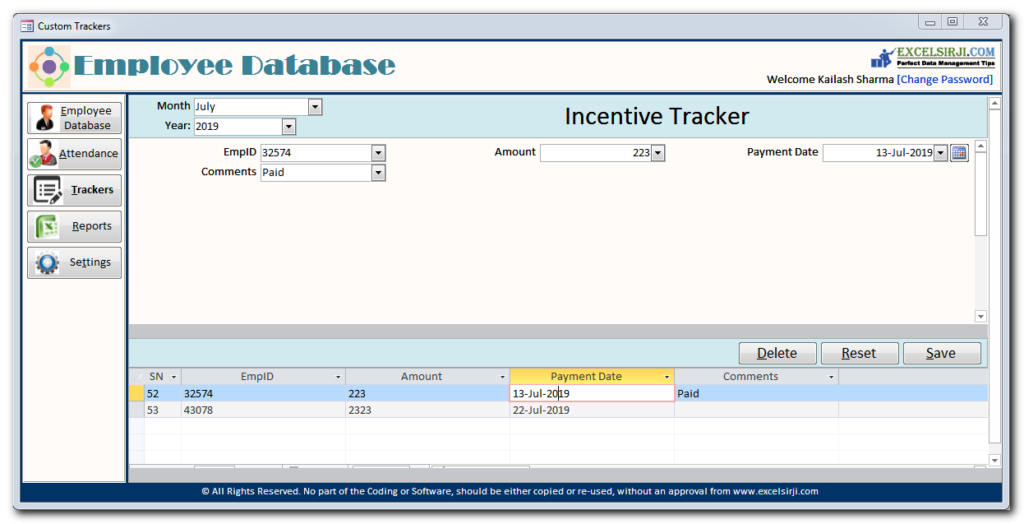
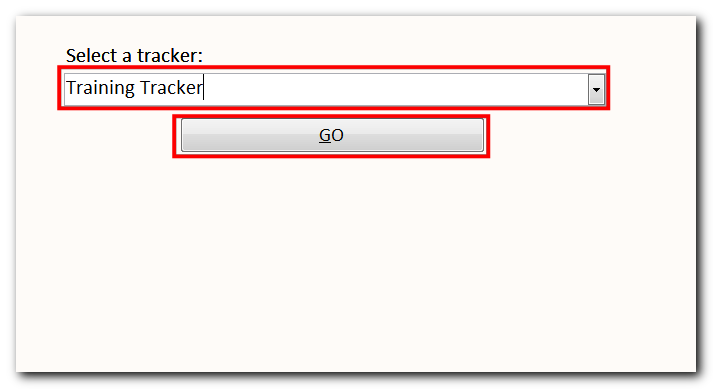
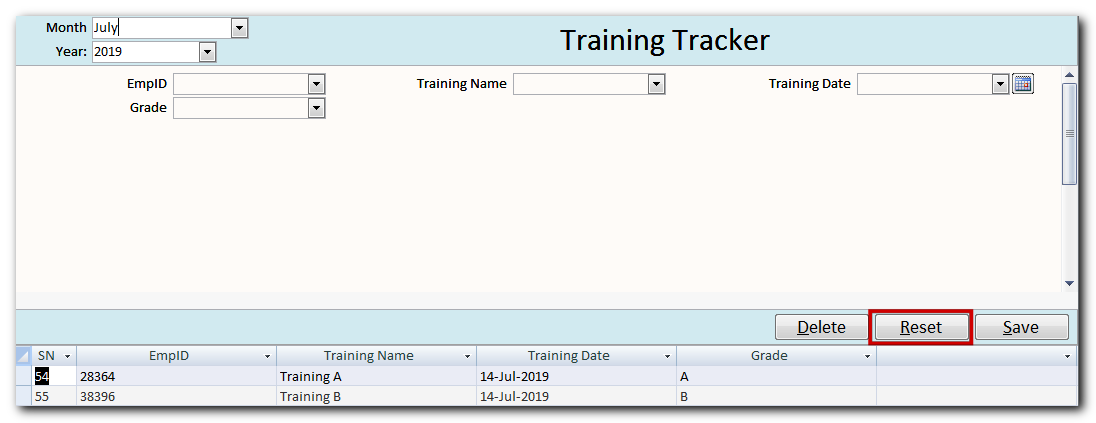
- From the dropdown select the tracker name and click on ‘Go’ button
- Based on the tracker settings (Frequency, Fields etc.), you will see the form to fill and update
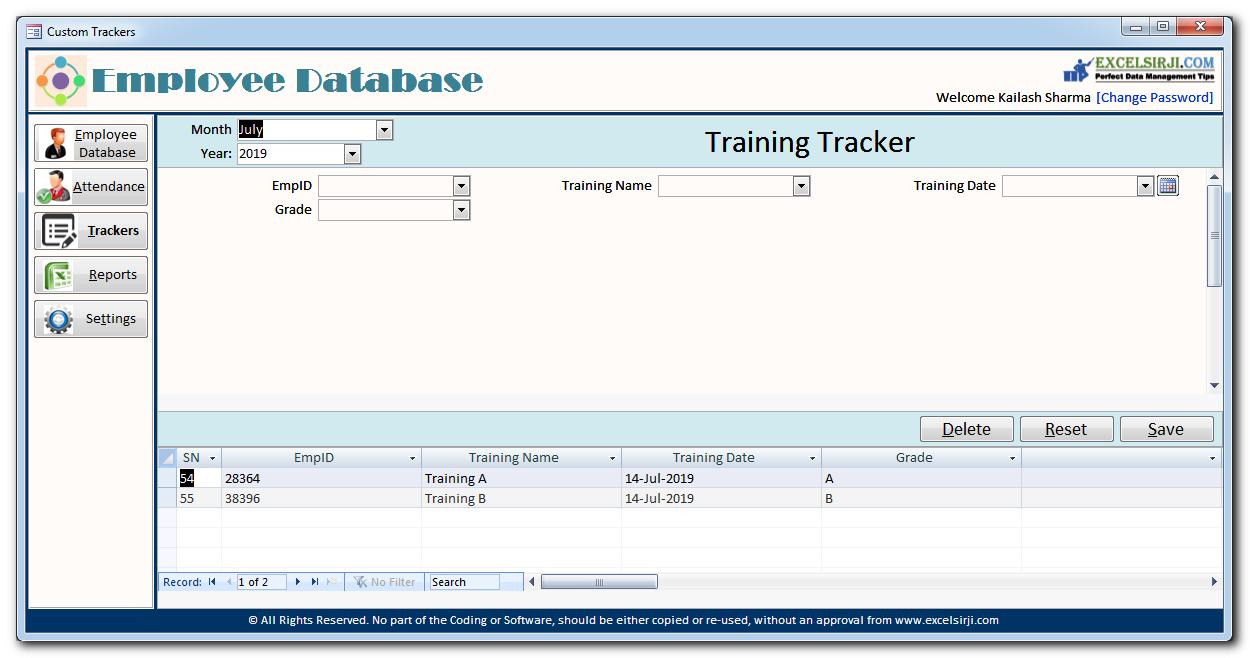
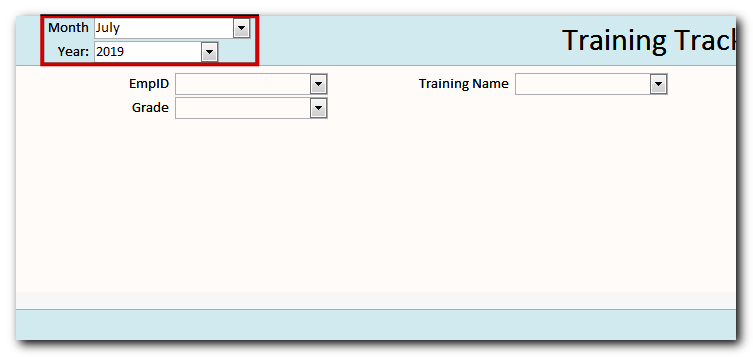
- For example, if it is a monthly tracker, you can see the Month and Year dropdown to select
- To add new record in the tracker, click on ‘Reset’ button
- Enter the details and click on ‘Save’ button
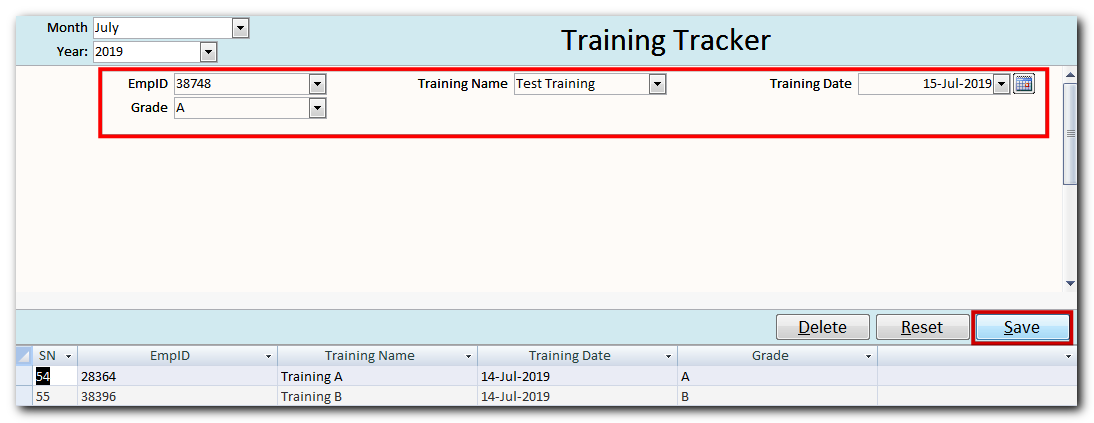
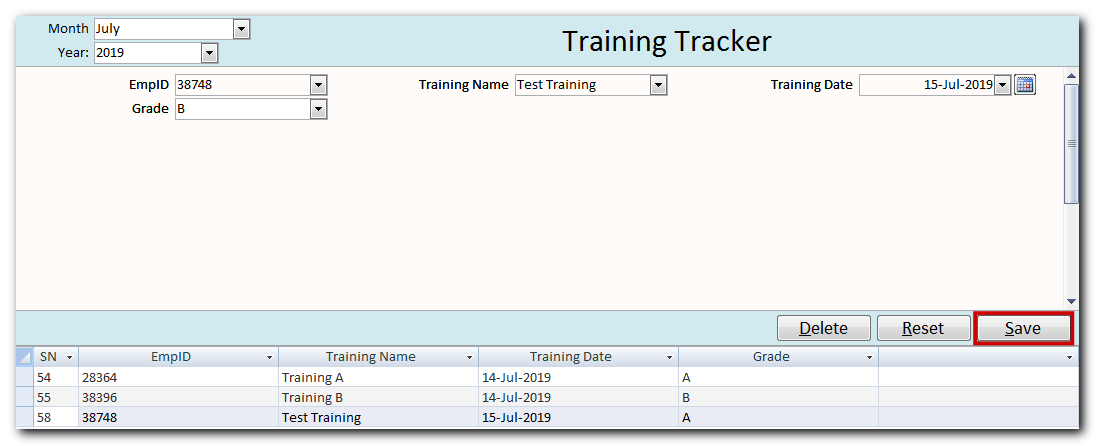
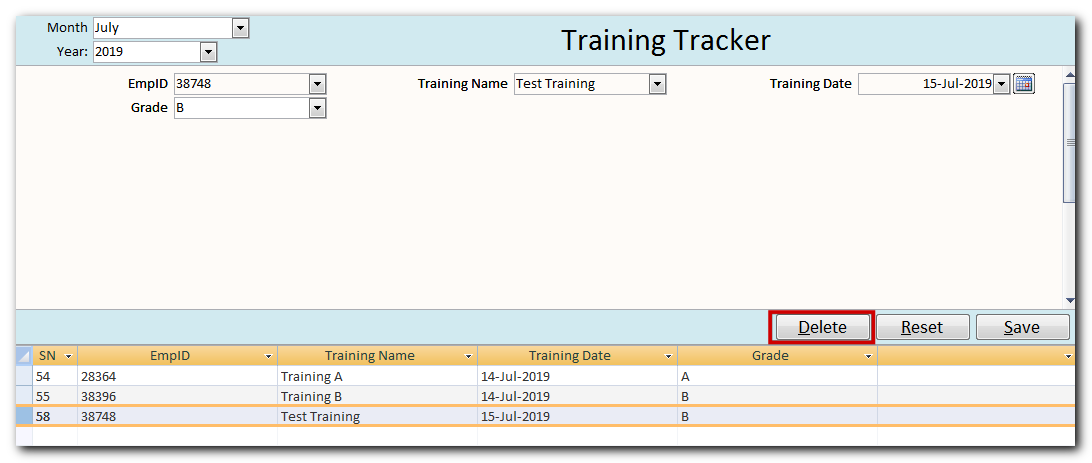
Note that fields appearing on the form can be defined through Settings > Custom Trackers - To update existing record, select the record from the list available at the bottom of the form

- Update the details and click on ‘Save’ button
- To delete the record from the tool, select the record from the list available at the bottom of the form
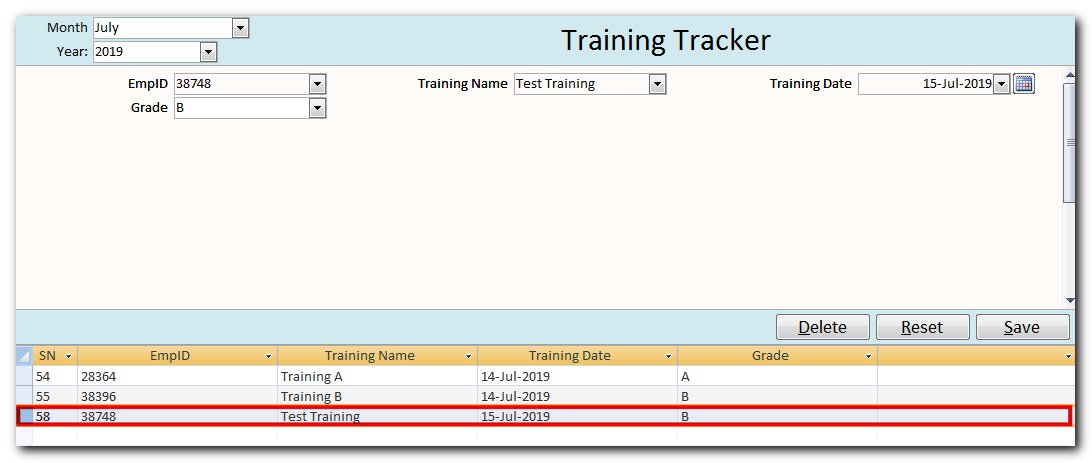
- Click on ‘Delete’
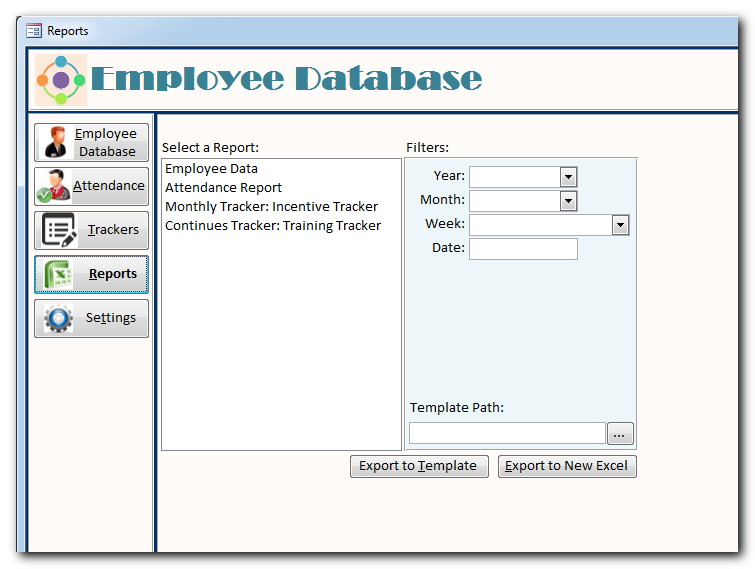
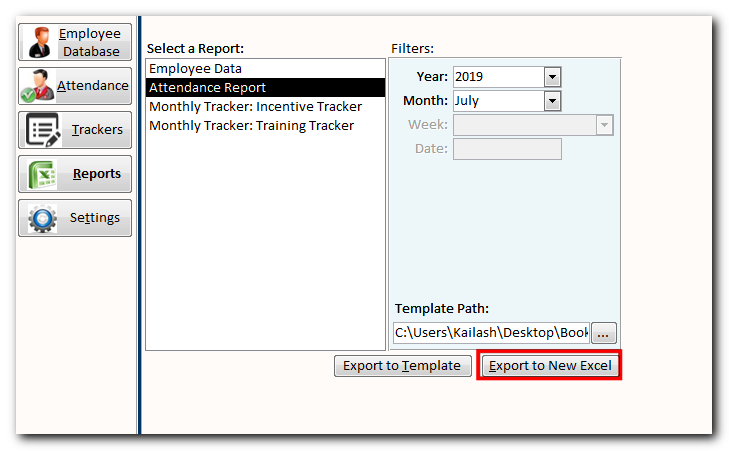
- To pull report from the tool, click on ‘Reports’ button
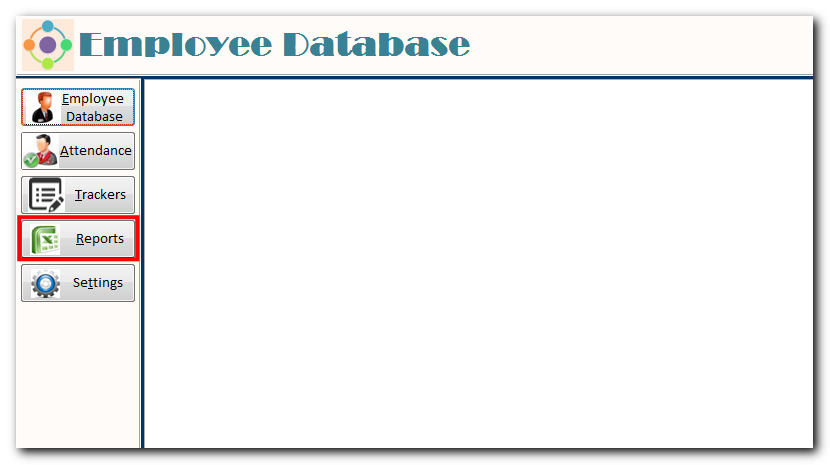
- Select a report from the available list
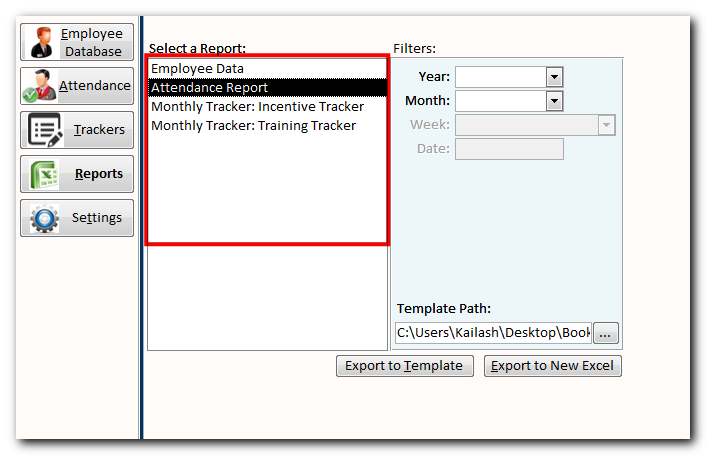
- You can also pull a filtered report by using ‘Filters’ option
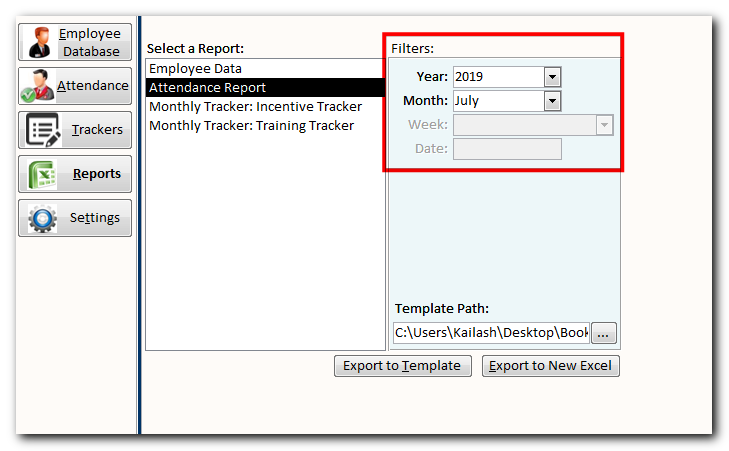
- To export the report in a new Excel file, click on ‘Export to New Excel’ button
Sample Output Report in Excel: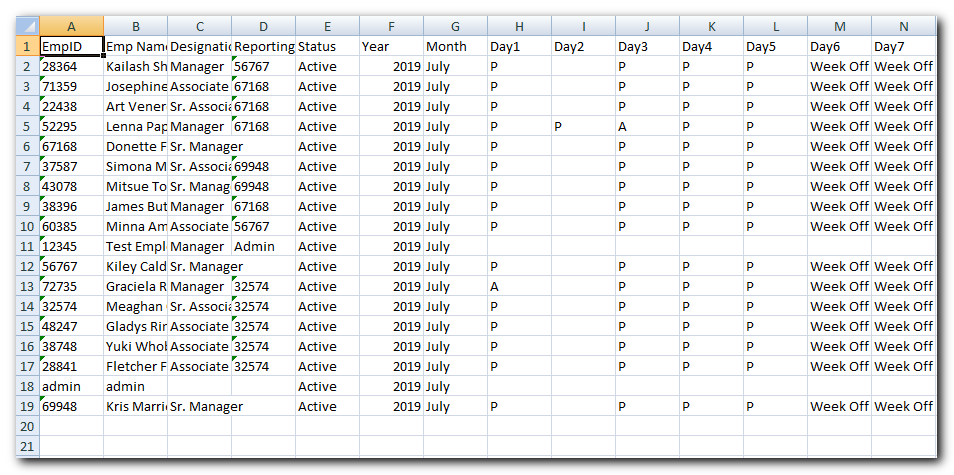
- To export the report in an existing report template, browse the location of template file
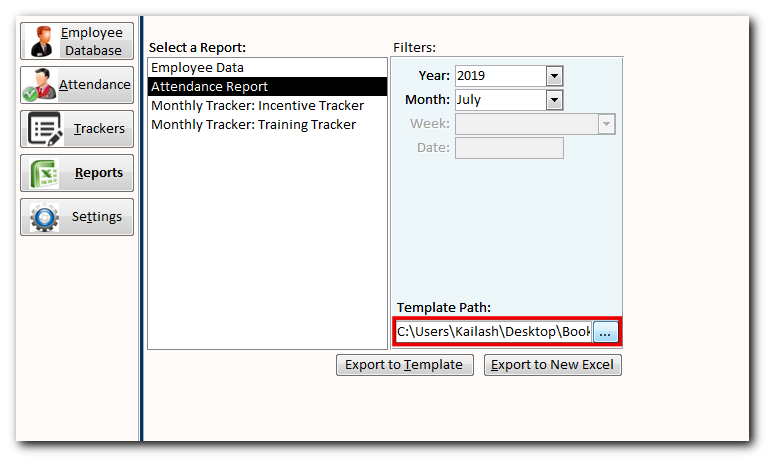
- Click on ‘Export to Template’ button
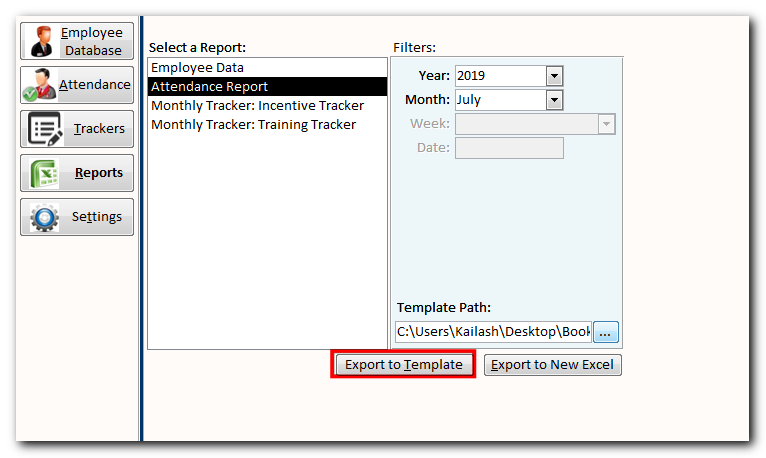
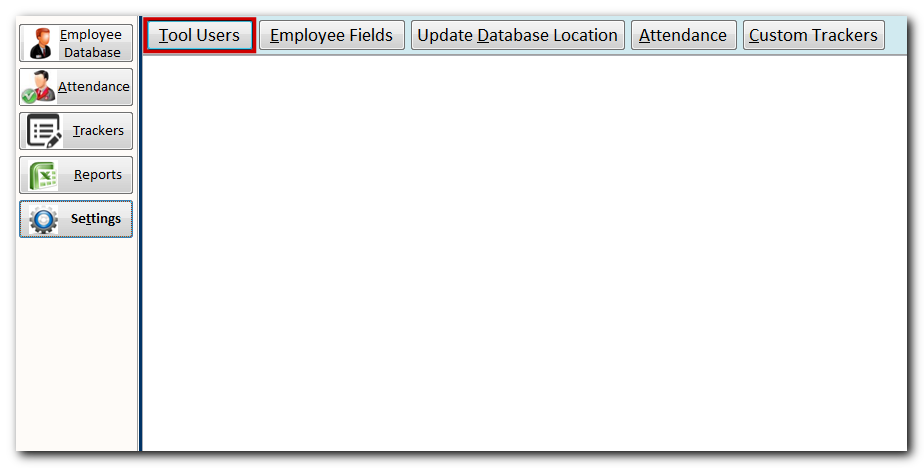
Note: When you click on ‘Export to Template’, tool will open the selected template and look for a sheet named ‘Report’. It will then delete the existing data from the ‘Report’ sheet and replace it with the fresh data from the tool. - The tool includes multiple settings to manage permissions and features such as User Permissions, Additional Employee Fields, Attendance Type, Custom Trackers etc. To change or update the settings, click on ‘Settings’ button
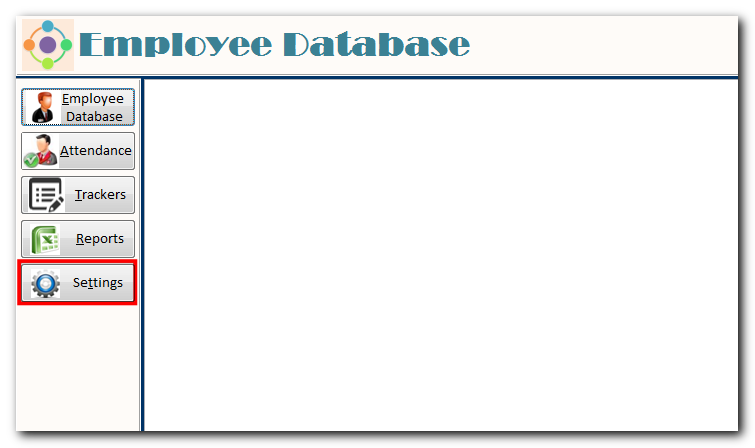
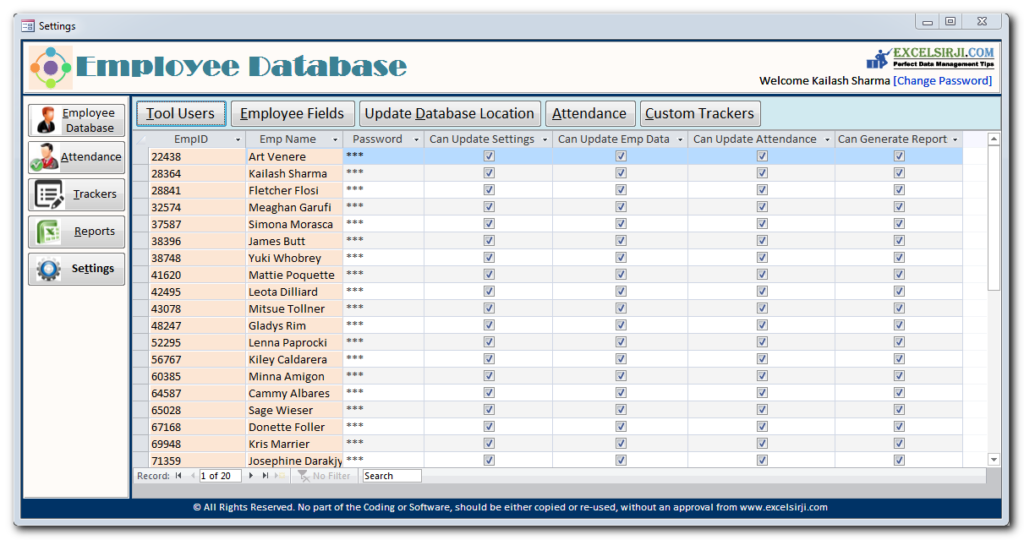
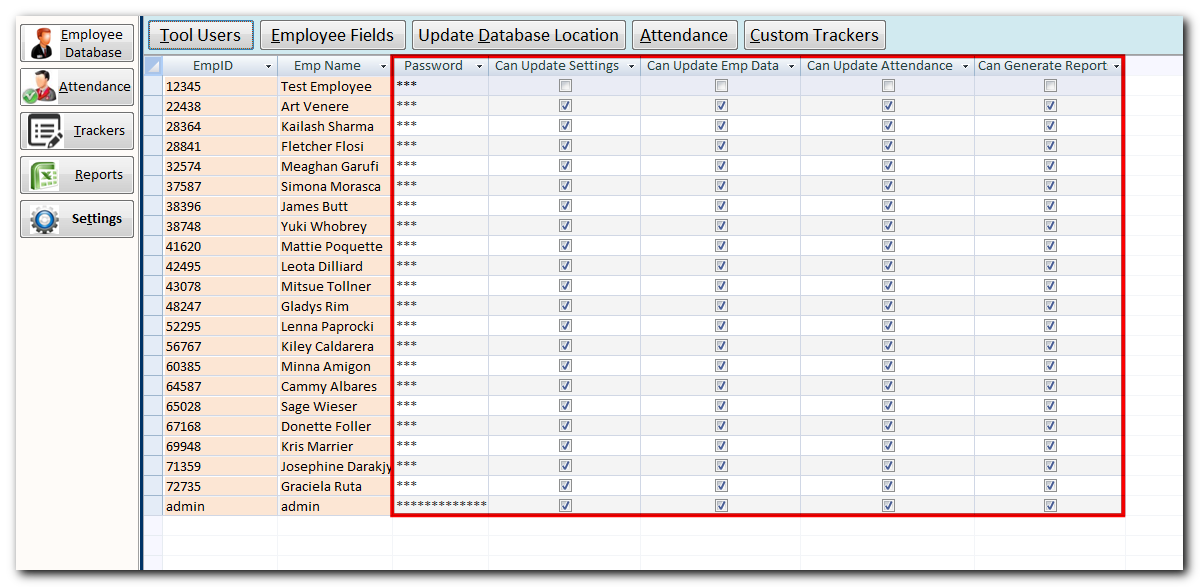
- To manage user permissions on the tool, click on ‘Tool Users’
- Use this action to update/reset user Password and permissions to update Settings, Employee Data, Attendance and Reports
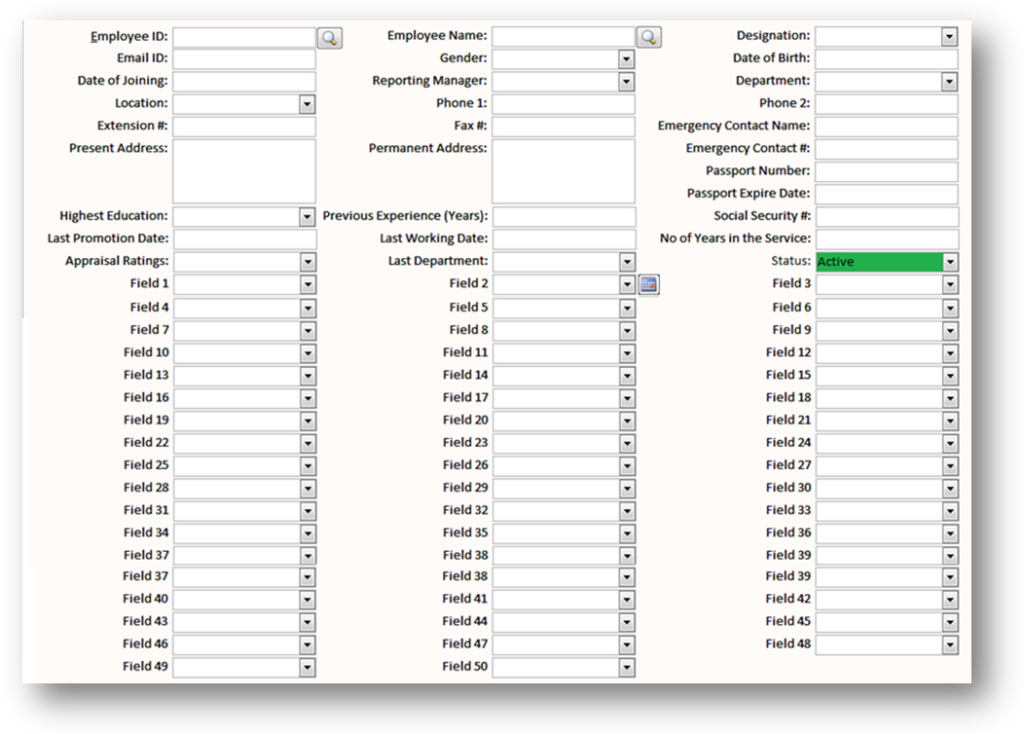
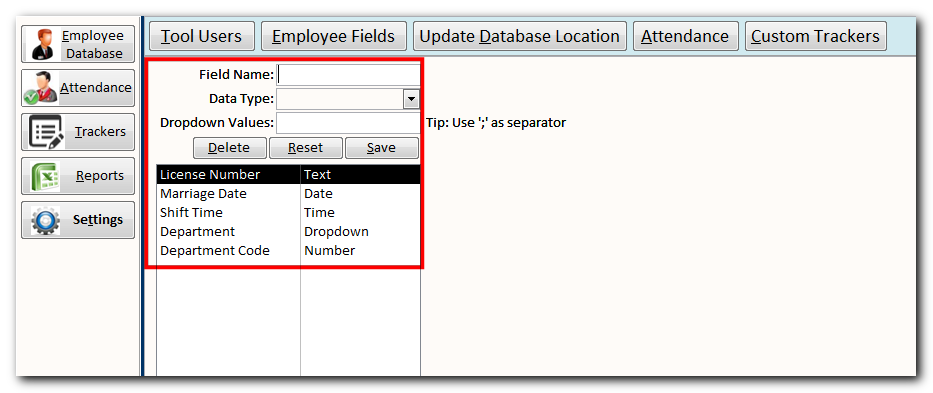
- To manage additional employee fields to track, click on ‘Employee Fields’ button

- Use this section to add additional employee fields (upto 50) to track under ‘Employee Database’ tab
- If you want to change the database location, click on ‘Update Database Location’ button
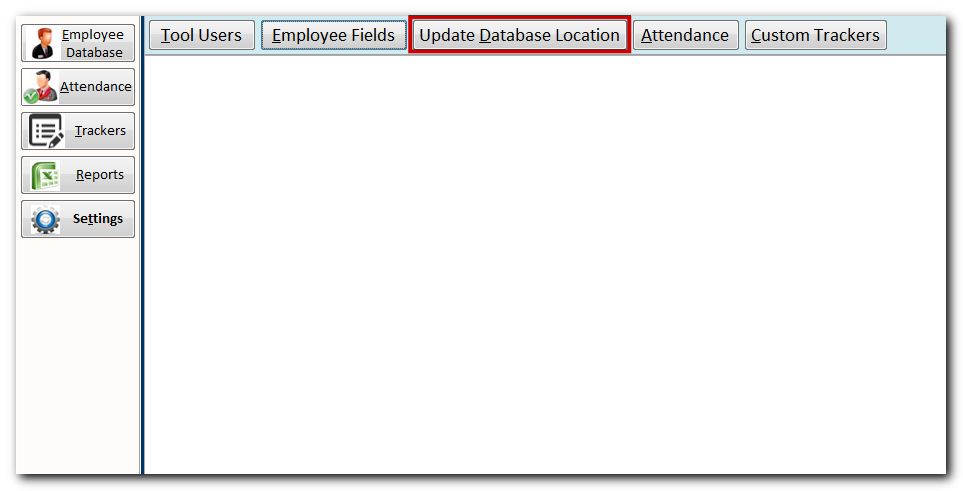
- Use this section to browse the new path of the backend database file and link with the tool copy
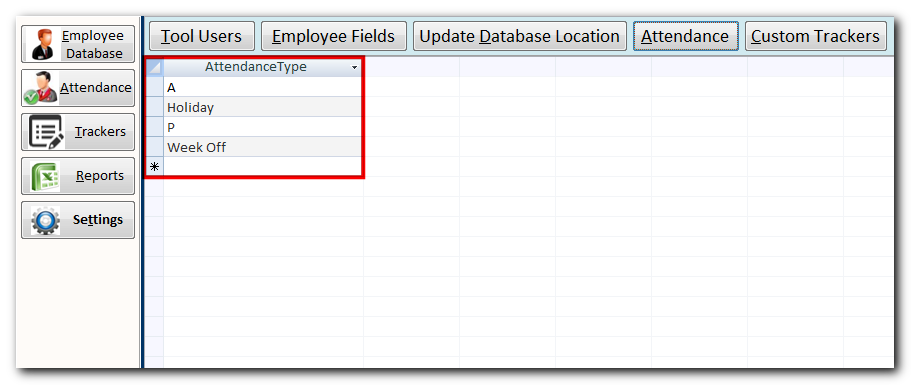
- If you want to manage the attendance type dropdowns, click on ‘Attendance’ button
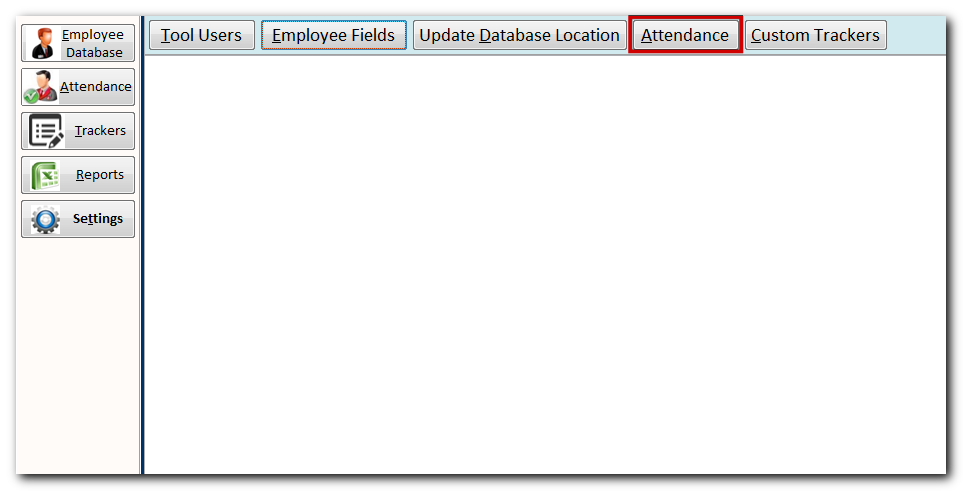
- Use this section to update attendance type dropdowns
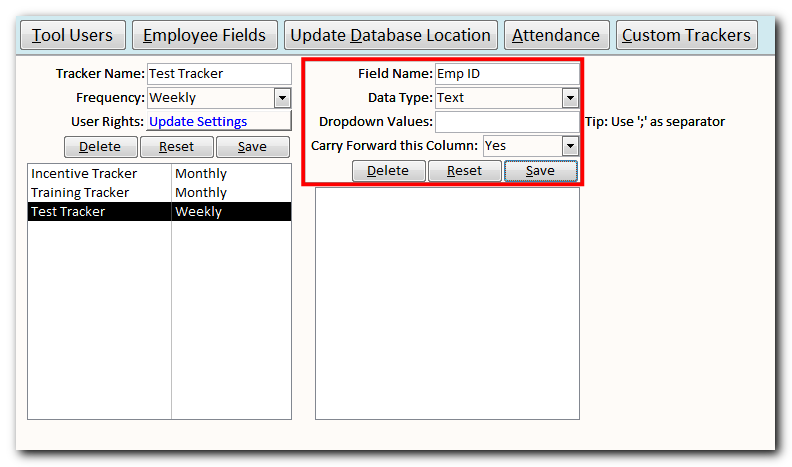
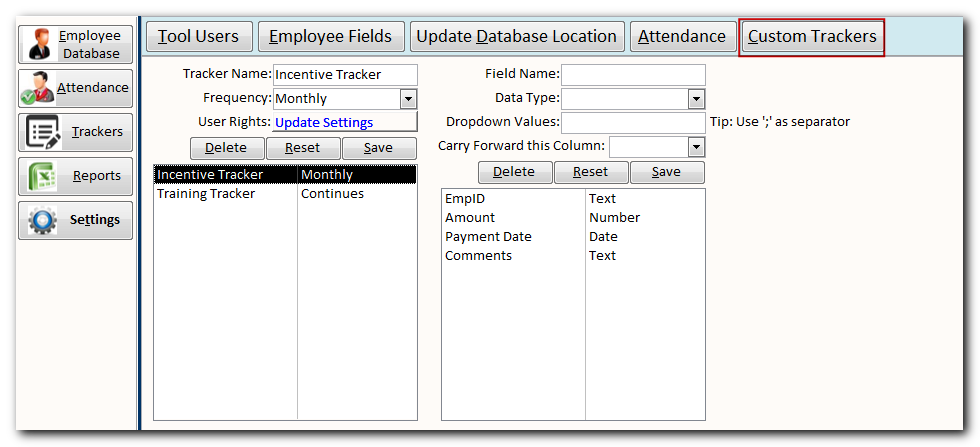
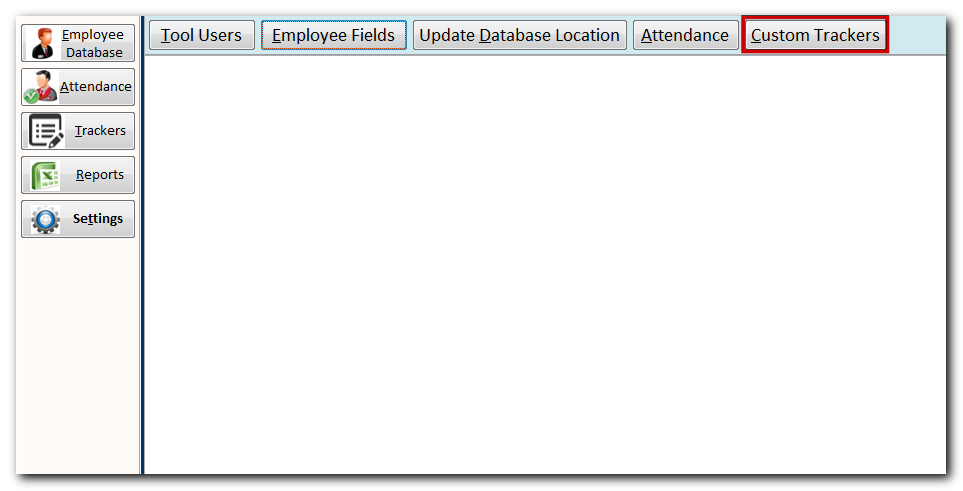
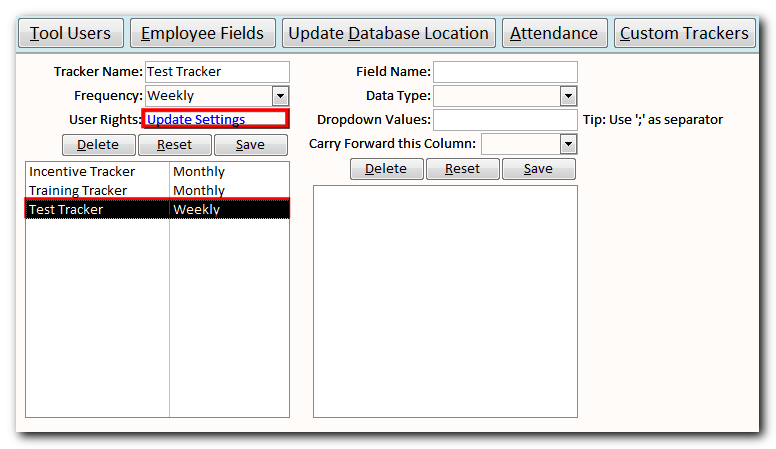
- To manage custom trackers, click on ‘Custom Trackers’ button
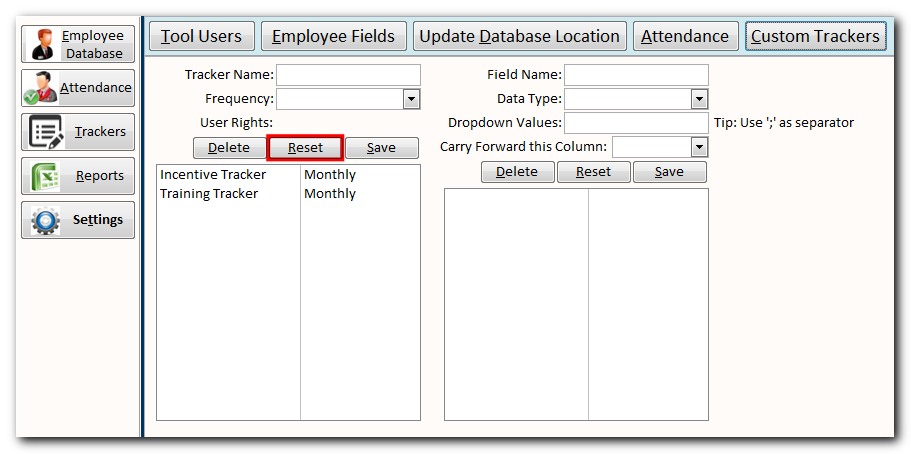
- To add a new tracker, click on ‘Reset’ button
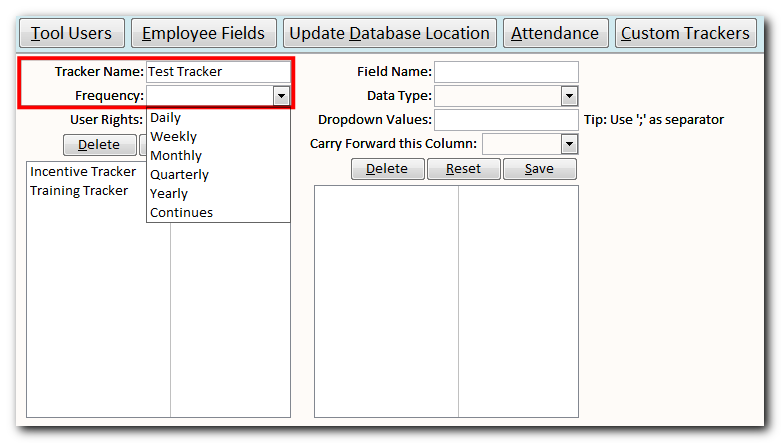
- Update tracker name and frequency details
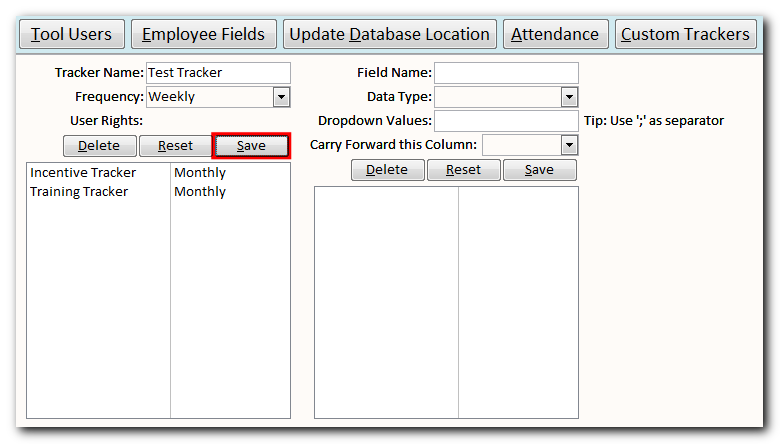
- Click on ‘Save’ button

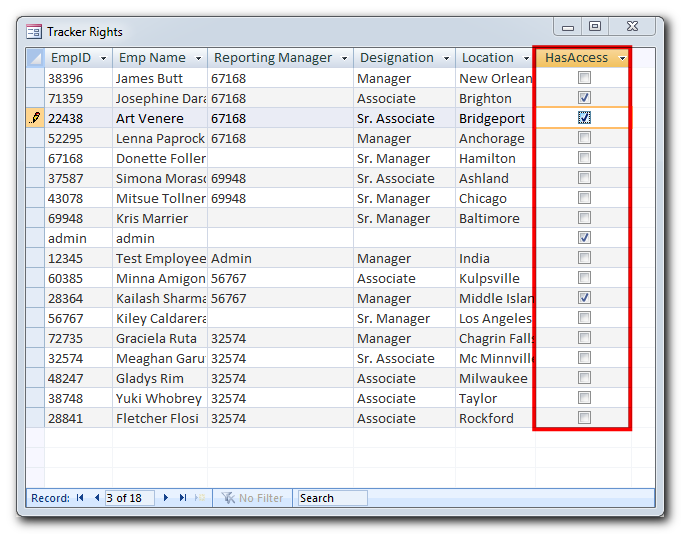
- Select the tracker from the list and click on ‘Update Settings’ link
- Update user permission and close the form
- Now in the newly created tracker, we need to add fields to track. For that, we will select the tracker from the list and fill the field details
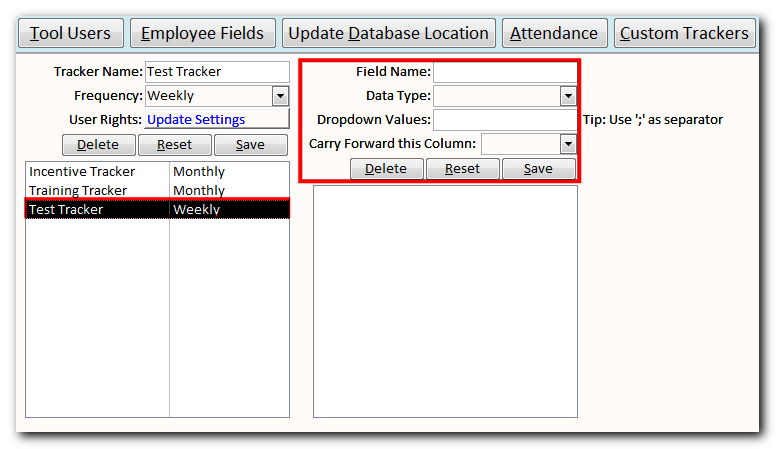
- Click on ‘Save’ button