There are few VBA codes which are commonly used by every developer. One of them is giving an option to user to browse a file. Below is a sample code where I have given a browse button (shape) in an Excel sheet. User can click on this button/shape and select an Excel file. The browsed file path is then displayed in cell E2:

Sub open_file()
Workbooks.Open "C:\Users\Dell\Desktop\myFile.xlsx"
End Sub
Public Sub BrowseAFile()
    Dim objFileDialog As Object
    Dim objSelectedFile As Variant
    'Browse the file
    Set objFileDialog = Application.FileDialog(3)
    With objFileDialog
        .ButtonName = "Select"
        .AllowMultiSelect = False
        .Filters.Clear 'It is important to clear old filters before adding new one
        .Filters.Add "Excel File", "*.xls;*.xlsx;*.xlsm", 1   'You may add more filters and give them a sequence
        .Title = "Select Input file"
        .Show
        For Each objSelectedFile In .SelectedItems
            Range("E2").Value = objSelectedFile 'You may change the destination as per your requirement
        Next
    End With
End Sub
Below is the description of the available options in the code to customize the code for your requirement

It is worth to mention that if you want to allow user to select multiple files then you need to make few changes in the code else it will overwrite the path mentioned in cell E2 instead of creating a list
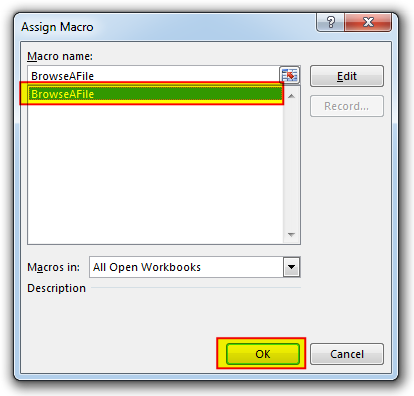
To use this code in your Excel file, follow below steps:


Thats how you can browse excel file using VBA Code.
To help you practice this code, we have made this code available through practice file. Click on the below link to download the practice file.

VBA code that will sum cells by its color through excel function. This code will really help in making the analysis and presentation better.

Table of Content VBA Code to Get User Domain Name VBA Code to Get User Domain Name – Method 1 VBA Code to Get User Domain Name – Method 2 Steps to use this VBA…

To subtract numbers in Excel, follow these steps:
Start by typing an equal sign (=) in the cell where you want the result.
Enter the first number or cell reference you want to subtract from.
Type a minus sign (-).
Enter the second number or cell reference you want to subtract.

You need to know how to insert and use the degree symbol in a cell.
Let me explain why this is important. Yesterday, I was working with temperature data, and it was crucial to use the degree symbol to indicate Celsius and Fahrenheit.

VBA Code to check if folder exist Validation is one of the important parts of any programming language. As per few studies, 60% of the code is focused on validating input or output. In this…

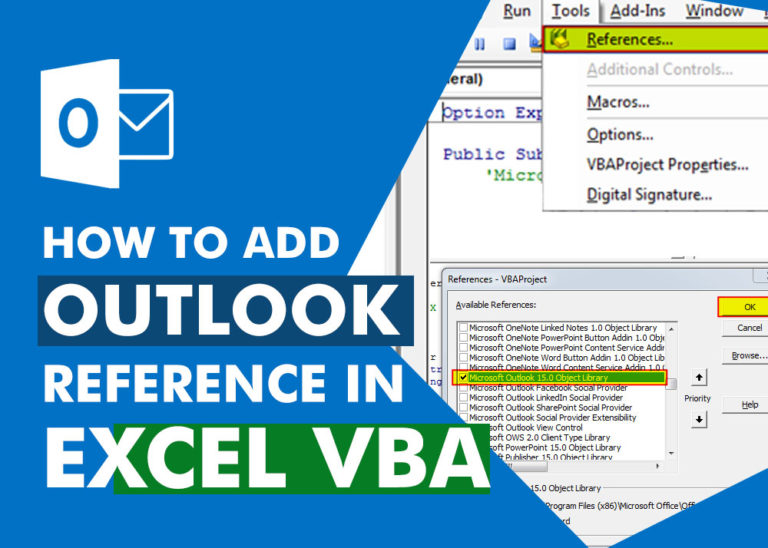
How to Add Outlook Reference in Excel VBA? To automate Outlook based tasks from Excel you need to add Outlook Object Library (Microsoft Outlook XX.X Object Library) in Excel References. You can follow below steps…
One Comment